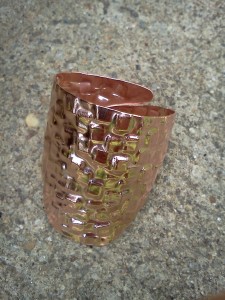
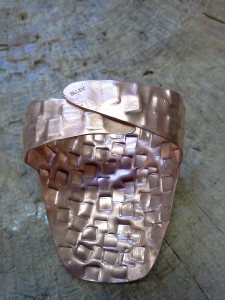
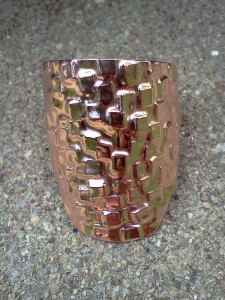
Yesterday I made a neckerchief slide for someone who is going to be starting Cub Scouts this fall. I got the idea to make these when I was asked to coordinate the artist badge requirements for my son’s Webelos Den. This son also happened to lose his brand new neckerchief and slide at the very first meeting of the year, so this idea seemed like a natural.
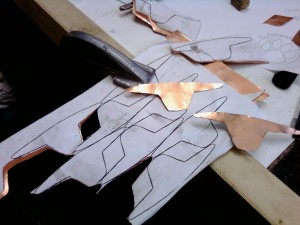
I drew several templates and even made models out of cardboard before finally deciding on a design. Then I went to the computer. First the image was cut in half and a mirror image of the other half was pasted in its place to make a perfectly symmetrical pattern. After darkening the lines by hand, the final scanned pattern was pasted into an image multiple times in different positions to make as many copies of the pattern as possible with the least amount of scrap.

The next step was to saw the individual slides. If I didn’t want to do a ton of sawing, I could have made a pancake die. This would have involved sawing one copy of the slide through a chunk of steel sheet. Sawing through steel is hard work, so I chose a lot of easy sawing over one big job. I also chose this method since I’d still have to pop the pieces out of the die and I’d be creating tons of scrap in the process.
I did not have to do much to the copper since it was brand new and still had a protective layer of plastic on it, so I just dipped it in the pickle to get off any residue that would keep the glue from sticking. Next I evenly applied Elmer’s glue and glued my paper template to the copper. I smoothed out the glue with a printer’s brayer, being careful not to distort or tear the thin computer paper with the liqueous glue. Finally, I set it aside for a couple of days to dry.
I’m not going to describe for you how to use a jeweler’s saw, here’s a couple of youtube videos that can help you.
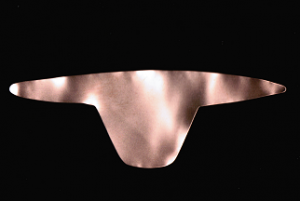
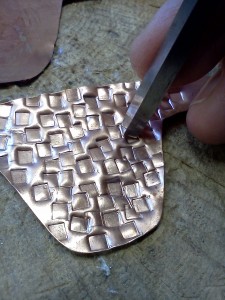
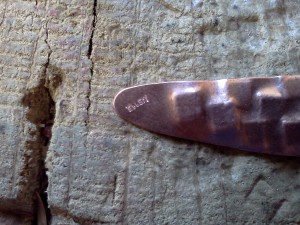
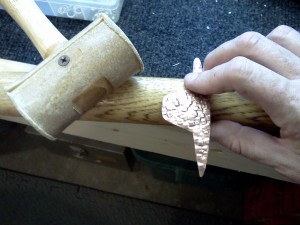
Once the pieces were finally sawn apart, I filed down the edges and then I gave them to the scouts to finish sanding them with emery paper. Once our blanks were all prepped, then all the fun with the chasing and repousse tools could begin. The design shown here was made with a square repousse tool used with a steel hammer on a wooden block. I let the scout decide which side should face out. Either side would have worked. I also hallmarked it with my stamp while it was still a flat piece of metal.
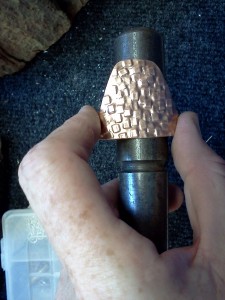
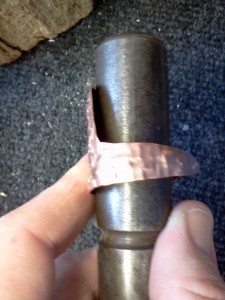
The next step was to form the copper into the shape of the slide. Here I decided to use the handle of my ring mandrel since my wooden stake was too big. The copper was nice and springy from hammering and needed to be pounded into shape with a mallet. Unworked copper is dead soft and can be worked with bare hands, assuming no sharp edges. However, by work hardening it, it is less likely to become misshapen from wear.
Finally, I polished it in a rock tumbler filled with steel shot and special non-chelating soap. Now it’s ready to be worn!
This was a fun and easy project for our Webelos Den to tackle. Blank slides are available for sale in my shop, or feel free to print out my template and make your own. Finished slides are also available at prices that are competitive with official BSA Neckerchief Slides.
