 You may be familiar with other forms of casting such as lost wax. That is the method of making jewelry from wax models. Basically a plaster investment mold is poured around a wax model which is then melted out Sometimes called by its French name, cire perdue, it produces clean crisp details and is how most commercial jewelry is made.
It is even possible to do investment casting at the benchtop in a small studio. I have read about centrifuges made from a tin can on a wire. The tin can acts as the investment cask while the wire gives you a means to is to swing it around in place of a centrifuge. Although I love working with molten silver, I’m not too keen on the thought of swinging a can of it around over my head. My other options included buying the proper equipment or using a casting house. For the latter, I recommend Ampex Casting in NY, they did all of my work for me when I was at FIT. I forget the name of the place I used in Boston.
Since I live really far from either of those places now and I doubt they do 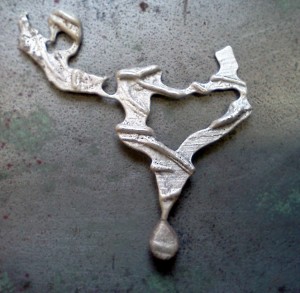 mail order, I’ll have to rely om my ingenuity to produce cast items another way. I’ll lose the crisp realism of the wax, but gain a lot of interesting texture and produce pieces that simply can’t be made any other way.
I now know two methods for small scale casting, charcoal block and cuttlefish bone. Neither involve model making, they are both directly carved into their one-time molds.
The person who taught me charcoal block casting called it press casting since the molten metal is quickly capped in its shallow mold with a charcoal block. Its a process that involves a lot of preparation then a short burst of speed and dexterity.
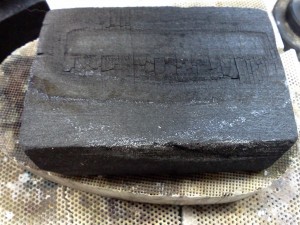 You start with two fresh charcoal blocks of the same size and another older block that you are going to carve into a crucible. Maybe go grab some gloves, a knife, tongs that can grasp a smoldering chunk of charcoal and a bucket of water to quench the blocks.
You might wish to prepare your blocks by wrapping the edges in binding wire, they split very easily. Binding wire is just thin annealed steel wire from the hardware store.
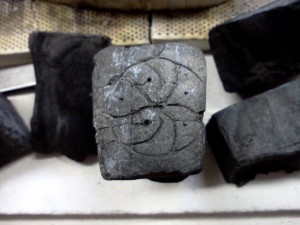
Carve your design into the smooth, flat surface of a charcoal block. It’s fairly soft and easy to carve with a pen or x-acto knife. Your design should be about 1/8 to 1/4 inch deep. Too shallow and you won’t get any detail, too deep and the metal won’t fill the mold.
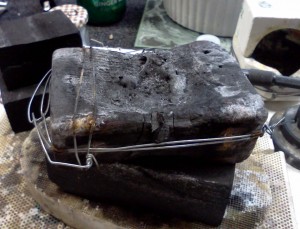
Next carve the crucible. Basically you’ll be carving a little bowl to melt the metal in and a little channel to pour the melted silver or gold out onto the carved block. You can also buy a crucible, but the radiant heat from the charcoal makes the process go faster. Also it’s a lot cheaper.
Make sure you can pick up and manipulate the block with the tongs you have. I have a special pair that came with the crucible I eventually bought, but bbq ones can work well too. Also do not attempt this if you do not have fireproof flooring, a fire extinguisher nearby and are wearing shoes. You don’t want to have molten metal slide onto your carpet…or your toes!!
Once you are all ready, you can put your casting grain or clean pieces of scrap in the crucible and begin heating with a torch. I usually add a few grains of a borax/boric acid powder that I mix up as a flux. The silver will go through several color changes on its way becoming molten. Once it is liquid, pick the crucible up with your tongs and pour the metal onto the mold. Have the other, uncarved charcoal block ready to slap on top on the mold. Be aware that molten metal can escape out the sides of the blocks. You have to move very fast or the silver will freeze up.
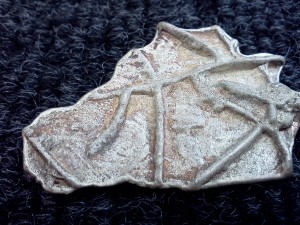
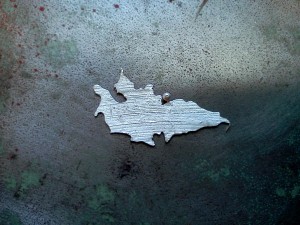
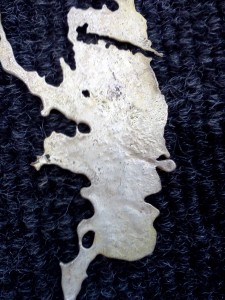
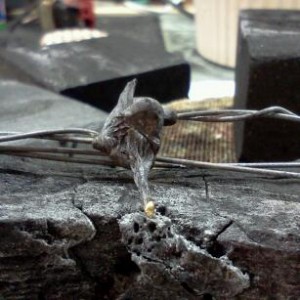
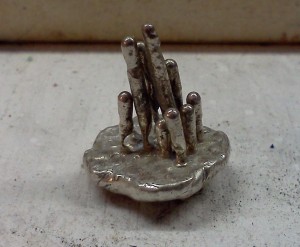
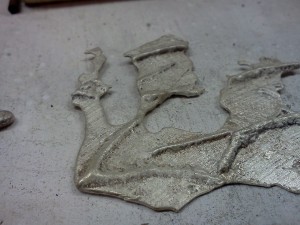
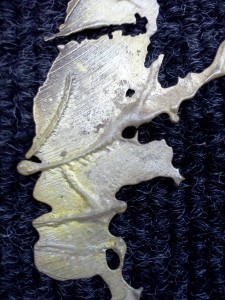
One of the most beautiful things about this process are all the organic shapes that the metal takes. Sometimes you get hefty slabs of silver, other times thin slivers. You can often see bulging at the edges where the charcoal block pressed into the metal. I have had metal drip onto the binding wire around the blocks and also drip into the ceramic honeycomb block I solder on. 