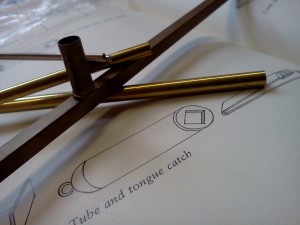
Recently I decided to make a tube clasp. This is essentially the same idea as the box clasp I have for sale. It’s a classic design, one that I found in several jeweler’s manuals I keep on my bookshelf. I’ve been searching for an elegant way to finish my handmade chains and finally today decided on a tube catch.
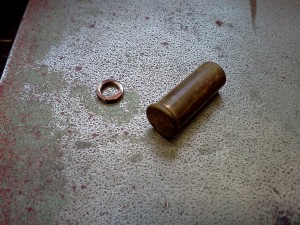
Once I had a clear idea in my head, I looked through my tubing stock. I began to feel very much like Goldi Locks as I realized that every thing was too big, too small our otherwise just not right. I debated making a piece of tubing or drawing down some of the larger stock. Then I spotted it, an old.22 brass bullet shell, unearthed long ago on a camping trip.
I liked several things about using the shell. Being a short section of tubing with one end already closed, the first two steps were done for me. Also by using an upcycled bullet for my clasp, I was preventing something that had been mined, refined, formed and polished into a finished item from simply being discarded on the face of the earth, a perfectly useful, durable piece of metal saved from a slow, rusty death. I wasn’t thrilled about the plain, brass surface, however, so that had to be changed.
I thought about pickle plating it in copper, or wrapping it in thin silver wire. Plating items by introducing ferrous metal to the pickle pot is kinda hokey. Plus I’d still have to add a patina over the copper plate. Wire wrapping would add bulk so soldering on ornamentation was out. This left me with my chasing tools.
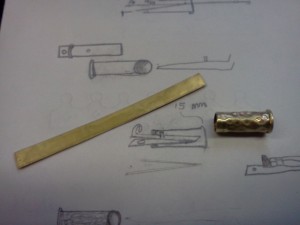
 I used the handle of a small dapping tool as a mandrel and clamped the whole thing to my workbench. It was slow going, the piece needed to be repositioned every two or three hammer blows to keep the pattern even. Then I had some difficulty removing the mandrel as the chasing compressed the work piece around the slightly mushroomed head of the poorly tempered homemade dapping tool. This could have been prevented by filing the end of the mandrel/tool before starting. Or better yet, by learning how to temper steel properly.
The next step was making the opening smaller by soldering a jump ring into it. The outside diameter of the ring must match the inside diameter of the tube exactly. I decided to go with a jump ring that had been plannished flat. You might notice that the ring is two different colors. It’s made from mixed metal wire that I drew in the shop.
Since clasps require a certain degree of precision, it was time to hit the old drawing board. The barrel of this clasp was easy to make being capped on one end. All I needed to do was hammer on a pattern, drill a hole for the bale and solder in the jump ring to make the opening smaller.

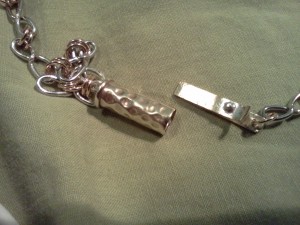
The tongue is an entirely different matter and careful planning meant that I got it more or less right on the first try this time. Other times I’ve taken a more direct approach and it usually means more work. This time I forgot that these types of mechanisms lose spring force if they are too long, and this one would be more snug if it was just a bit shorter.
The other thing that I’d change is that instead of using a short perpendicular nub of square wire, I think I’d put a piece of wire or sheet horizontally across the tongue and file it to fit. It would have more surface area to fit against the jump ring opening of the barrel half.
 The next steps for the tongue were to bend the release, trim the end and drill a hole where it attaches to the chain. I still had to make a loop for the barrel end to attach that side to the chain. I did this by drawing a bead on a piece of wire then threading it through a hole on the end of the shell and making a loop.


